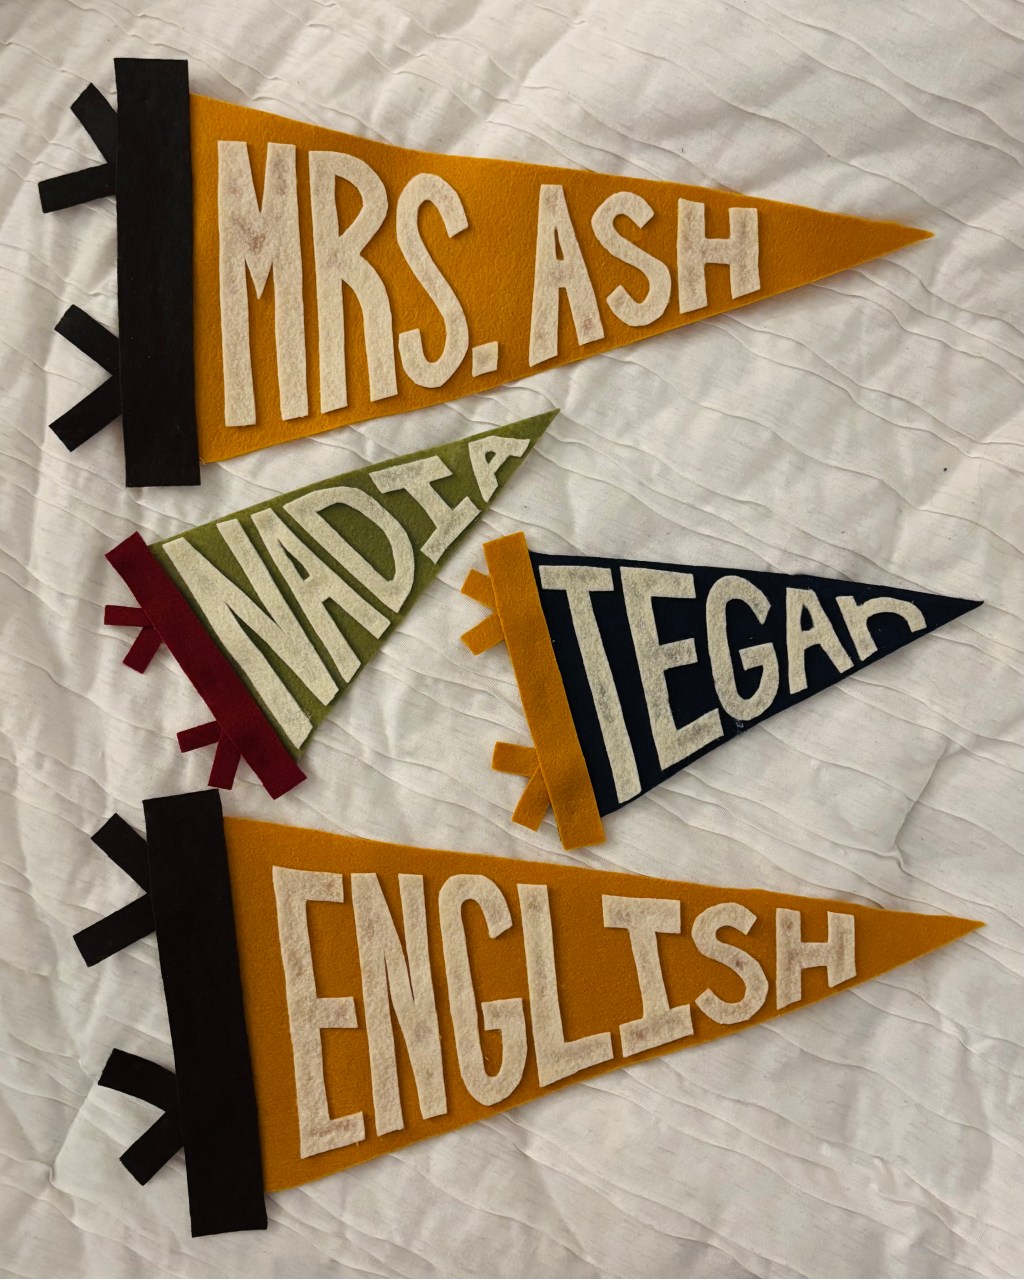
These 10 step felt pennants have been my new favorite craft! This easy, simple project is a great way to add color to your space. For the second year, I have made two small pennants for my college dorm room (shown in tutorial). Last year’s pennant lives in my work cubicle now. I also made the two large pennants above for my older sister’s middle school classroom. This handmade decor is cheap and quick.
Supplies:
- felt
- scissors
- measuring tool
- hot glue
Step 1
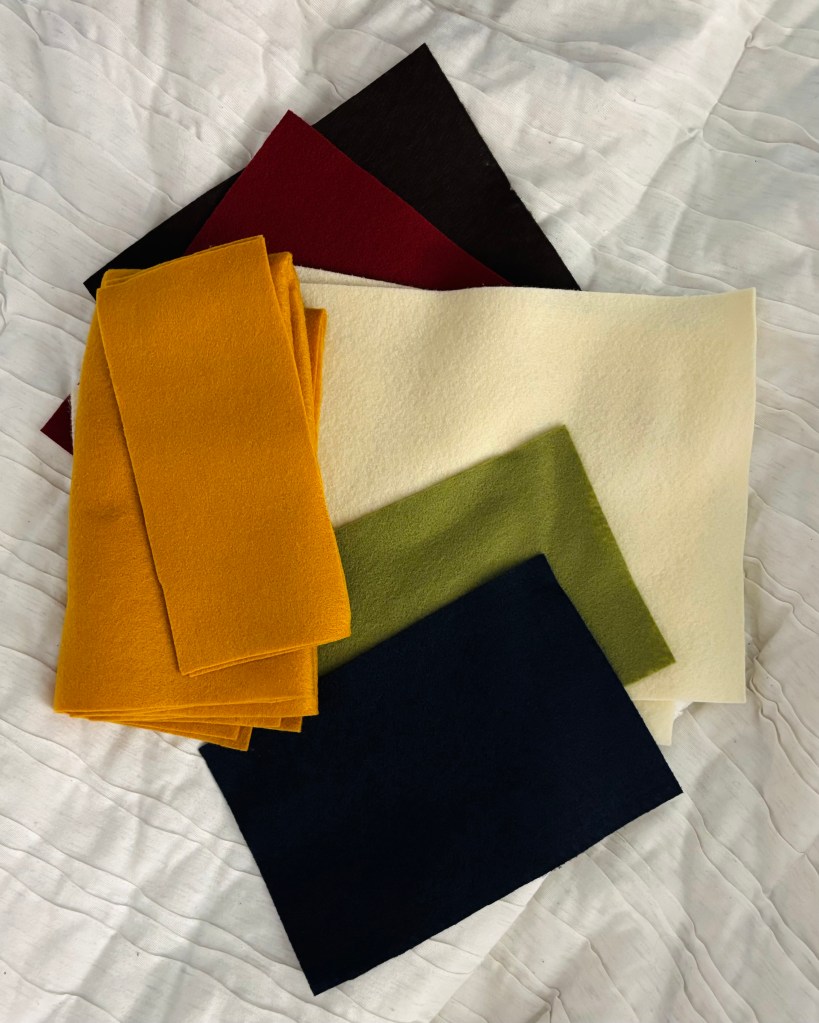
Find your color palette! I always use three colors, but you could use two.
Step 2
For a small pennant, cut a standard sheet of felt in half. The steps can easily be translated to any size you want to create.

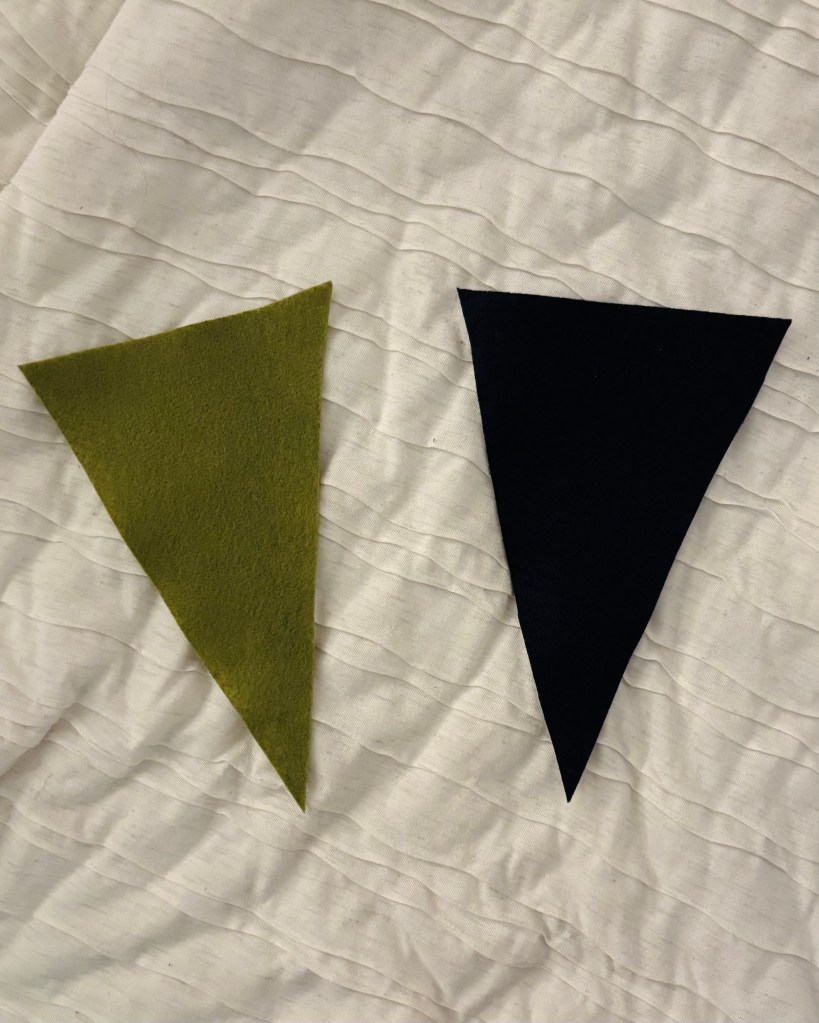
Step 3
On the short side of the rectangle, find the middle and cut to the opposite corner. Repeat to create the background triangle.
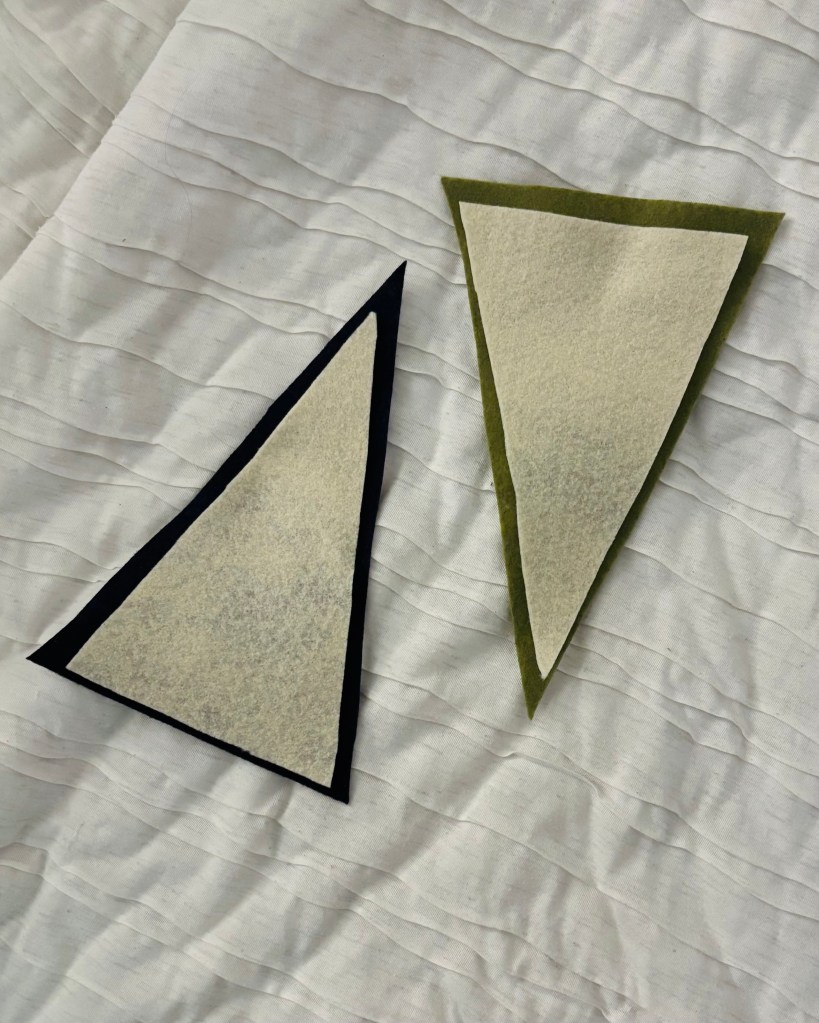
Step 4
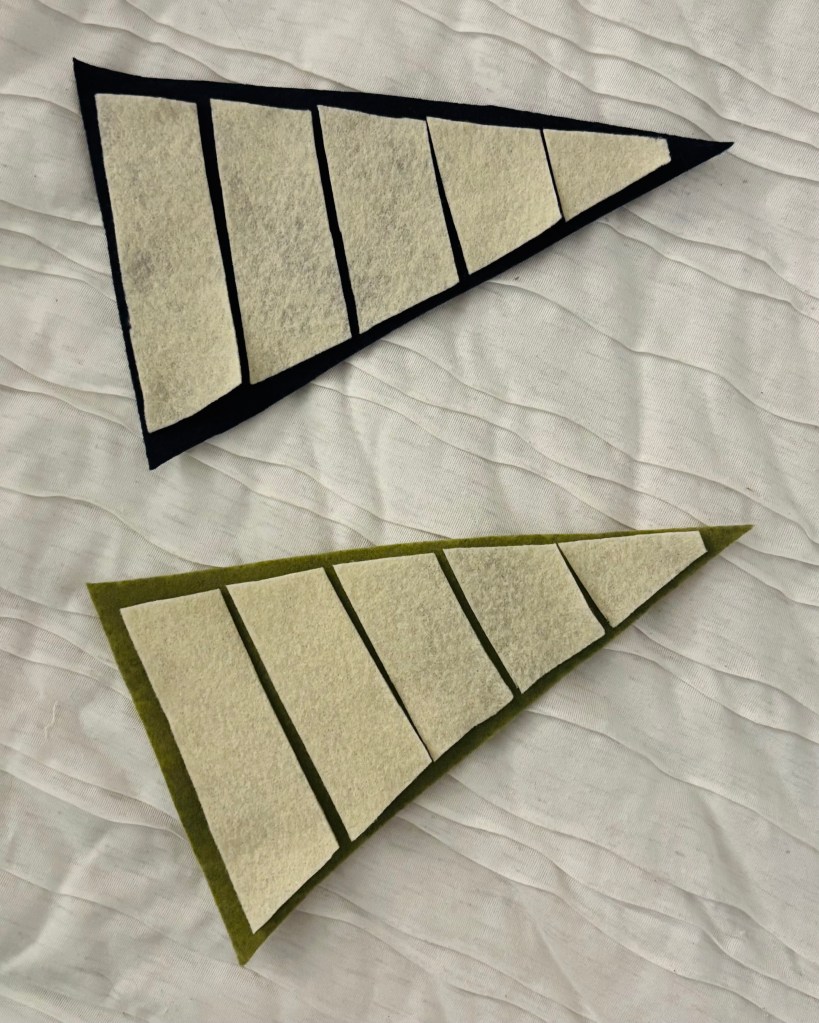
Using the color you want your letters to be, cut a triangle smaller than the background triangle.

Step 5
Cut the tip of the smaller triangle to create a linear edge. Measure the length.
Step 6
Using this measurement, cut the smaller triangle into equal rectangles for each letter.
Step 7
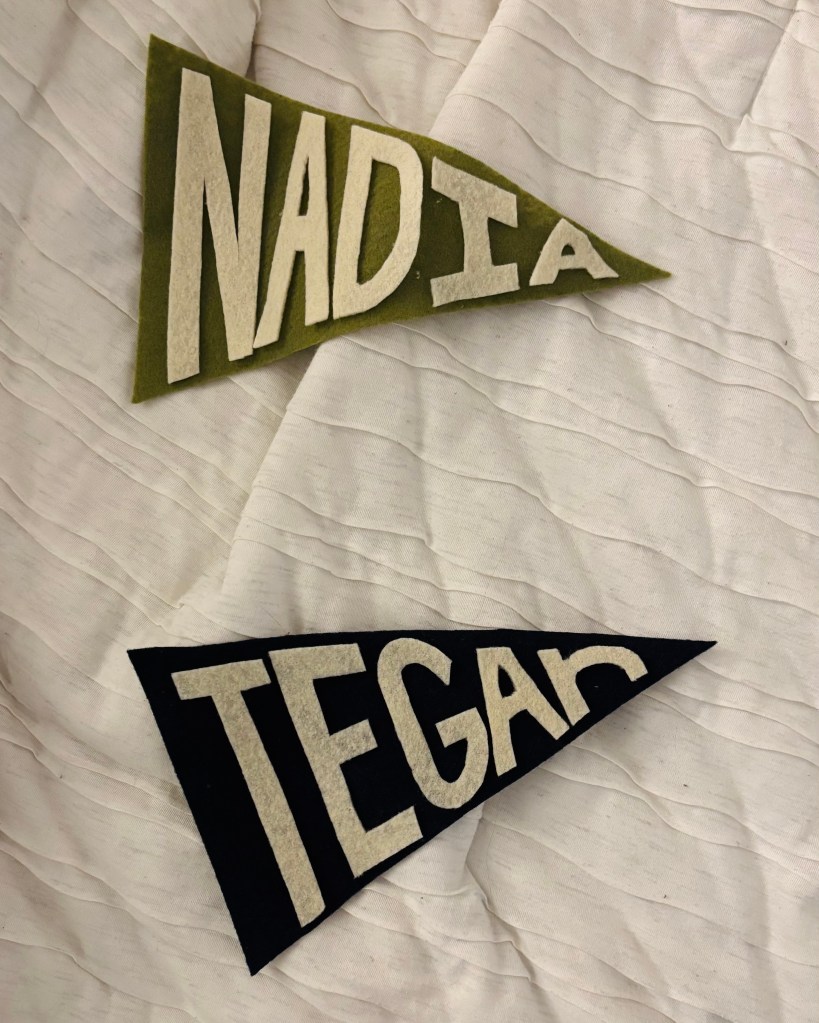
I freehand my letters from the rectangles since they are already the correct size. If you sketch them, use a utensil that can be erased or cut around so it won’t show!
Step 8
Using the third color of felt, cut a skinny rectangle slightly longer than the bottom of the triangle.
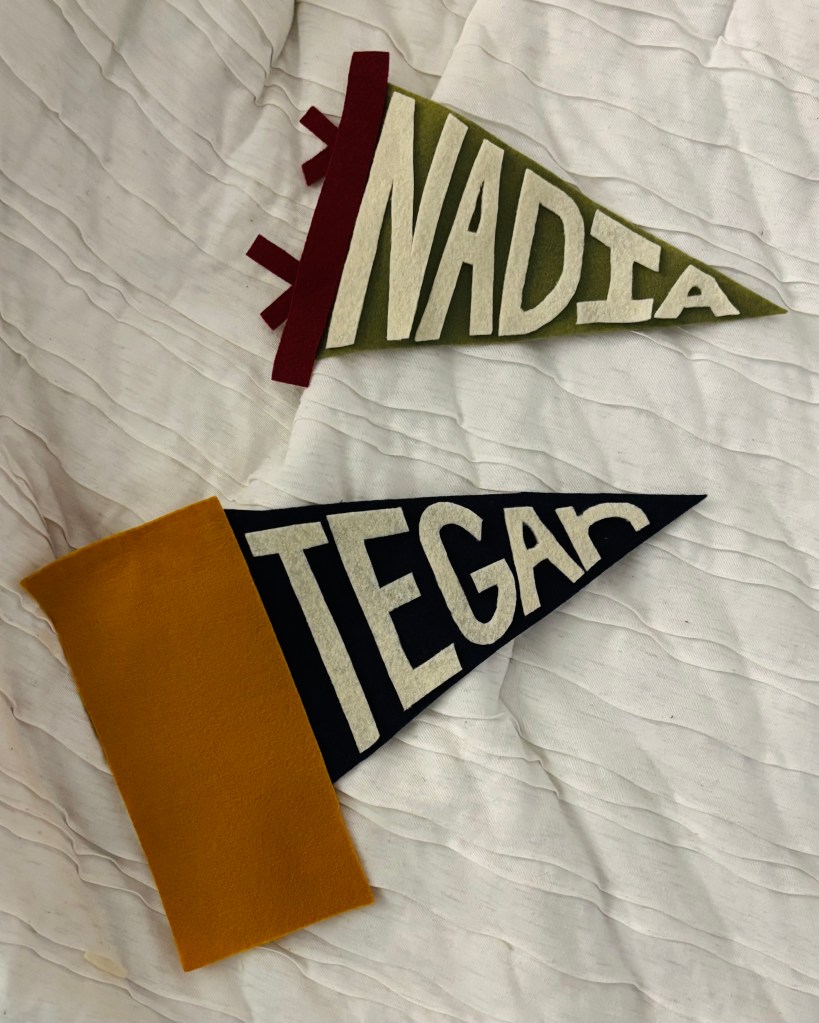
Step 9
Cut four smaller rectangles from the same felt. Use your own judgement for the size!
Step 10
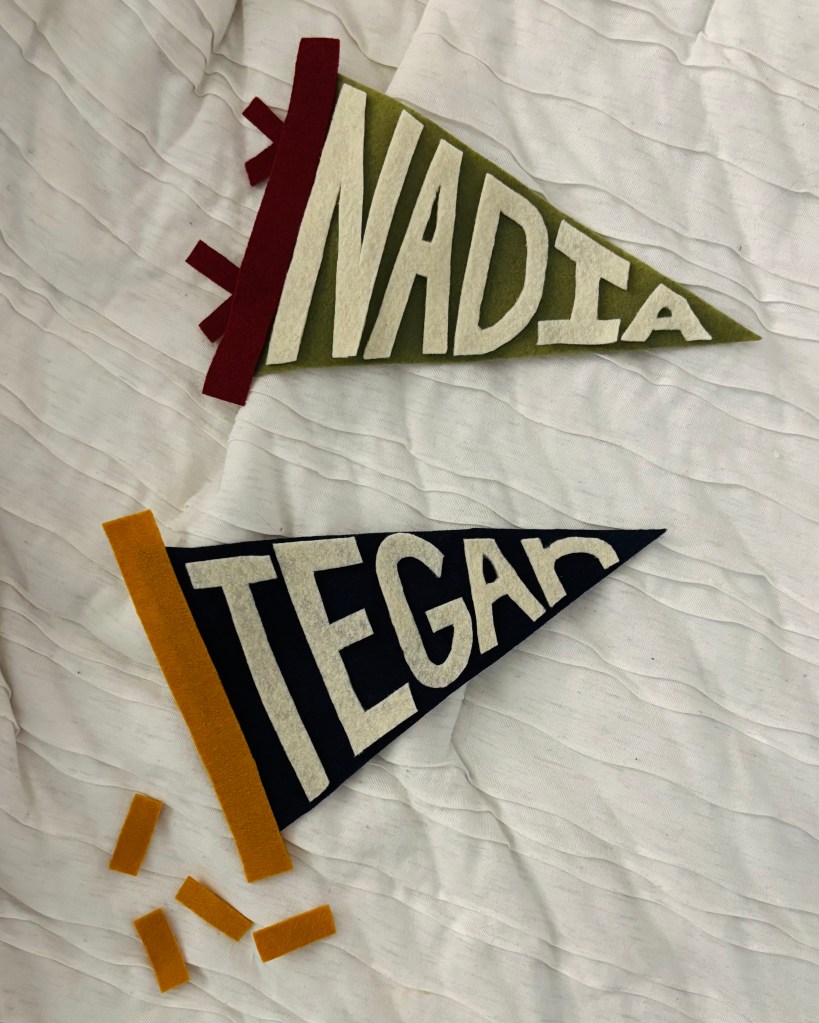
Hot glue everything together. I have only used hot glue, but I’m sure any glue would work! You could also sew them together.
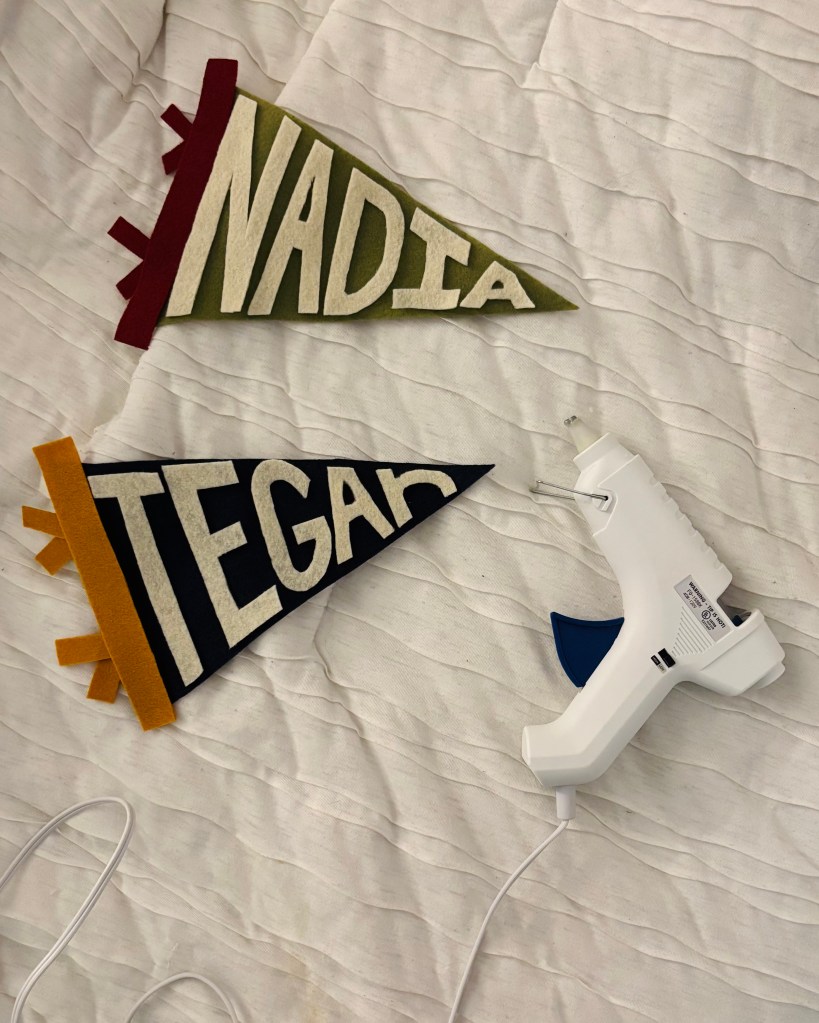

Final Product
Take time to craft your own decor! This is the perfect project to start with. Enjoy!!

Leave a comment